
この記事では .NET MAUI で Expander を使う方法を紹介しています。
Expander を活用することで画面のスペースを節約でき、ユーザーが興味のあるコンテンツにアクセスしやすくするメリットがあります。
ぜひこの記事を参考にしてみて下さい。

オススメの参考書
丁寧に解説された1冊。リリースされて間もない.NET MAUI の基礎が学べるので、これから Android や iOS などをターゲットとして開発するなら非常に参考になる書籍です。

そもそも Expander とは?

Expander(エキスパンダー)は、コンテンツエリアの開閉が行えるコントロールです。
Expander には、大きく分けてヘッダーとコンテンツの2つのプロパティがあります。ヘッダーは展開/折りたたみのトリガーとして機能します。コンテンツは展開/折りたたみのビューを指定できます。
このコントロールを使うことで必要な時にだけコンテンツを表示できるので、画面のヘッダーのタイトルからユーザーが興味あるコンテンツにアクセスしやすくなります。また、コンテンツの階層化や分類が可能になります。
Expanderを使うには?

この Expander は .NET MAUI の標準コントロールとして登録されていません。そのため、Expander を扱うには「CommunityToolkit.Maui」というライブラリを NuGet からインストールする必要があります。

このライブラリは、.NET MAUI でアプリ開発する時に役立つことを1つにまとめています。ビヘイビア、コンバーターなどの汎用的な機能が揃っているのが特徴です。
\ GitHubサイト /
ライブラリのインストール
.NET MAUI Community Toolkit を .NET MAUI のプロジェクトにインストールします。
次の手順でプロジェクトへインストールしましょう。
お使いのパソコンにインストールされている Visual Studio 2022 で、プロジェクトを開きます。
統合開発環境である Visual Studio のインストールがまだの方は、次の記事を参考にしてインストールします。

メニューバーから [ツール] -> [NuGet パッケージ マネージャー] -> [ソリューションの NuGet パッケージの管理] の順に選択します。
検索欄に「CommunityToolkit.Maui」を入力して、検索結果の一覧から「CommunityToolkit.Maui」をインストールします。(2023年5月現在、バージョンは5.1.0)

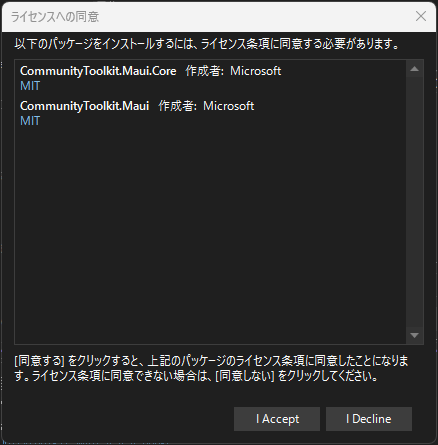
ライセンスへの同意を求める画面が表示されるので、内容を確認して [I Accept] ボタンをクリックします。
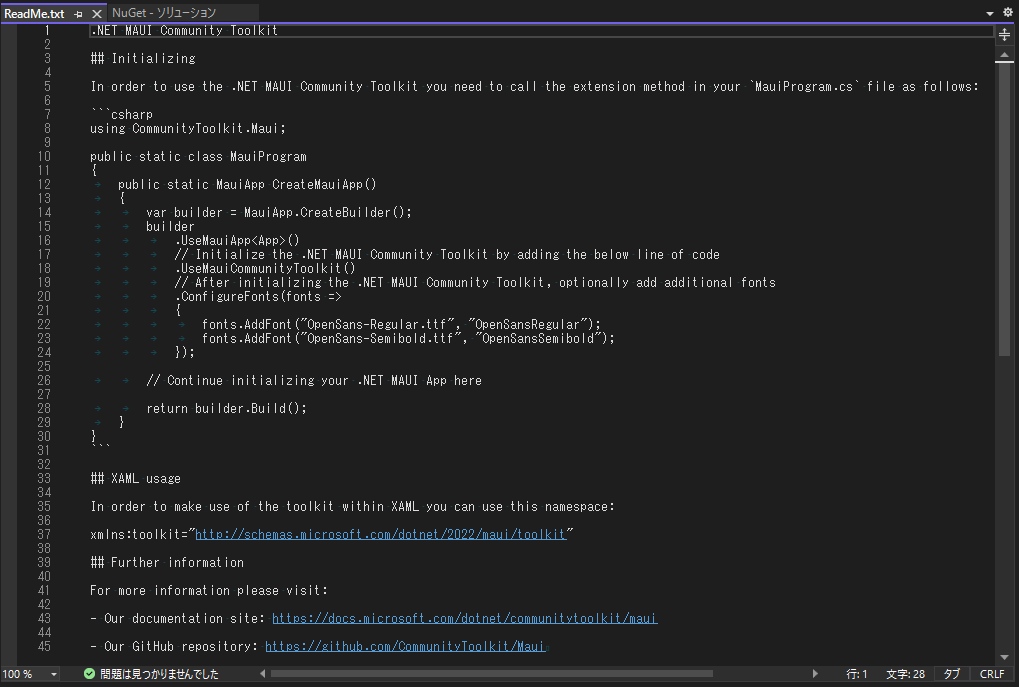
インストールが完了すると、ReadMe.txt が表示されます。このファイルにはライブラリの使い方が記載されています。
ReadMe.txt は閉じても特に問題はありません。
ライブラリの初期設定
CommunityToolkit.Maui を使うための設定があります。
次の手順でライブラリの初期設定をしましょう。
MainProgram.cs を開いて、ファイルの先頭に using ステートメントを追加します。
using CommunityToolkit.Maui;続いて、スタートアップ処理に CommunityToolkit.Maui の初期化処理を追加します。(下記コードの8行目に追加)
public static class MauiProgram
{
    public static MauiApp CreateMauiApp()
    {
        var builder = MauiApp.CreateBuilder();
        builder
            .UseMauiApp<App>()
            .UseMauiCommunityToolkit()
            .ConfigureFonts(fonts =>
            {
                fonts.AddFont("OpenSans-Regular.ttf", "OpenSansRegular");
                fonts.AddFont("OpenSans-Semibold.ttf", "OpenSansSemibold");
            });

        return builder.Build();
    }
}
これで Expander を使う準備が整いました。
Expanderを使う方法

MainPage.xaml を開いて、XAML の名前空間に CommunityToolkit.Maui の名前空間を追加します。
xmlns:toolkit="http://schemas.microsoft.com/dotnet/2022/maui/toolkit"Expander は Header と Content に分けて記述します。ここでは Header 部分にタイトルを表示する Label を追加し、Content 部分にはアイテムを表示する Label を2つ追加します。
XAML は次のようになります。
<ContentPage
    x:Class="Sample.MainPage"
    xmlns="http://schemas.microsoft.com/dotnet/2021/maui"
    xmlns:x="http://schemas.microsoft.com/winfx/2009/xaml"
    xmlns:toolkit="http://schemas.microsoft.com/dotnet/2022/maui/toolkit">
    <toolkit:Expander>
        <!-- ヘッダー -->
        <toolkit:Expander.Header>
            <Label
                BackgroundColor="#F1F1F1"
                FontAttributes="Bold"
                FontSize="18"
                Text="タイトル" />
        </toolkit:Expander.Header>
        <!-- コンテンツ -->
        <toolkit:Expander.Content>
            <VerticalStackLayout Margin="5">
                <Label Text="アイテム1" />
                <Label Text="アイテム2" />
            </VerticalStackLayout>
        </toolkit:Expander.Content>
    </toolkit:Expander>
</ContentPage>
Windows Machine でデバッグを実行してみましょう。Expander のヘッダー部分をクリックすると、コンテンツが展開されます。
デフォルトでは Content は折りたたみされた状態ですが、IsExpanded プロパティ(bool型)を true にすることで Content は展開された状態で表示されます。
サンプルコード
Expanderのサンプルコードを紹介します。XAMLは次の通りです。
<ContentPage
    x:Class="Sample.MainPage"
    xmlns="http://schemas.microsoft.com/dotnet/2021/maui"
    xmlns:x="http://schemas.microsoft.com/winfx/2009/xaml"
    xmlns:toolkit="http://schemas.microsoft.com/dotnet/2022/maui/toolkit">
    <toolkit:Expander x:Name="MyExpander" IsExpanded="true">
        <!--  ヘッダー  -->
        <toolkit:Expander.Header>
            <Grid
                BackgroundColor="#F1F1F1"
                ColumnDefinitions="*,30"
                HeightRequest="35">
                <Grid.Resources>
                    <Style TargetType="Label">
                        <Setter Property="FontSize" Value="18" />
                        <Setter Property="FontAttributes" Value="Bold" />
                        <Setter Property="VerticalTextAlignment" Value="Center" />
                    </Style>
                </Grid.Resources>
                <Label Margin="10,0,0,0" Text="タイトル" />
                <Label Grid.Column="1" Text="∨">
                    <Label.Triggers>
                        <DataTrigger
                            Binding="{Binding Source={x:Reference MyExpander}, Path=IsExpanded}"
                            TargetType="Label"
                            Value="true">
                            <Setter Property="Text" Value="∧" />
                        </DataTrigger>
                    </Label.Triggers>
                </Label>
            </Grid>
        </toolkit:Expander.Header>
        <!--  コンテンツ  -->
        <toolkit:Expander.Content>
            <Frame
                Margin="5"
                BorderColor="Gray"
                CornerRadius="5">
                <Grid ColumnDefinitions="60, *">
                    <Image
                        MaximumHeightRequest="50"
                        MaximumWidthRequest="50"
                        Source="person.png" />
                    <VerticalStackLayout Grid.Column="1" Margin="10,0,0,0">
                        <Label
                            FontSize="20"
                            Text="Tanaka Taro"
                            TextColor="#086bed" />
                        <Label Text="Engineer" />
                        <Label FontSize="12" Text="E-mail : xxx.xxxxx@gmail.com" />
                    </VerticalStackLayout>
                </Grid>
            </Frame>
        </toolkit:Expander.Content>
    </toolkit:Expander>
</ContentPage>
Windows Machine でデバッグを実行した結果が次になります。
まとめ

この記事では、.NET MAUI で Expander を使用する方法を紹介しました。
必要な時にだけコンテンツを表示できる便利なコントロールなので、この記事が参考になれば幸いです。
以上、最後まで読んで頂きありがとうございました。