
ポップアップのレイアウトをカスタマイズしたい。
この記事では.NET MAUIのポップアップ表示をカスタイマイズする方法を紹介します。
MVVM パターンでポップアップを表示する際の参考になると思うので、ぜひ最後まで読んでみて下さい。
オススメの参考書
丁寧に解説された1冊。リリースされて間もない.NET MAUI の基礎が学べるので、これから Android や iOS などをターゲットとして開発するなら非常に参考になる書籍です。

オリジナルのポップアップを作成するには?

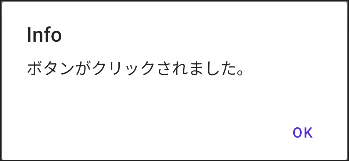
.NET MAUI には Popup を表示する DisplayAlert メソッドが標準で搭載されていますが、このメソッドで表示できるポップアップのスタイルは決まっているため、スタイルのカスタマイズを行うことができません。
また、DisplayAlert メソッドは Page クラスに定義されたメソッドなので、Page クラスを継承した MainPage.xaml のコードビハインドとかでしか使えないデメリットがあります。
こういう問題を解決してくれるのが、NuGet でインストールできる「CommunityToolkit.Maui」というライブラリです。
このライブラリは、.NET MAUI でアプリ開発する時に役立つことを1つにまとめています。ビヘイビア、コンバーターなどの汎用的な機能が揃っているのが特徴ですね。
\ GitHubサイト /
この記事では、CommunityToolkit.Maui の Popup クラスを使ってポップアップをカスタマイズして表示する方法を紹介します。
まずは DisplayAlert メソッドでポップアップを表示したいという方は、次の記事を参照してください。

事前準備

CommunityToolkit.Maui のインストールと設定の手順について紹介します。
ライブラリのインストール
.NET MAUI Community Toolkit を .NET MAUI のプロジェクトにインストールします。
次の手順でプロジェクトへインストールしましょう。
お使いのパソコンにインストールされている Visual Studio 2022 で、プロジェクトを開きます。
統合開発環境である Visual Studio のインストールがまだの方は、次の記事を参考にしてインストールします。
メニューバーから [ツール] -> [NuGet パッケージ マネージャー] -> [ソリューションの NuGet パッケージの管理] の順に選択します。
検索欄に「CommunityToolkit.Maui」を入力して、検索結果の一覧から「CommunityToolkit.Maui」をインストールします。(2023年5月現在、バージョンは5.1.0)

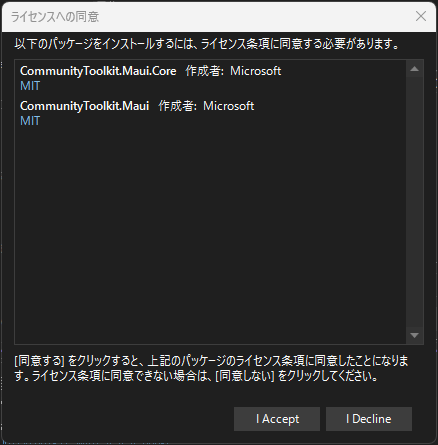
ライセンスへの同意を求める画面が表示されるので、内容を確認して [I Accept] ボタンをクリックします。
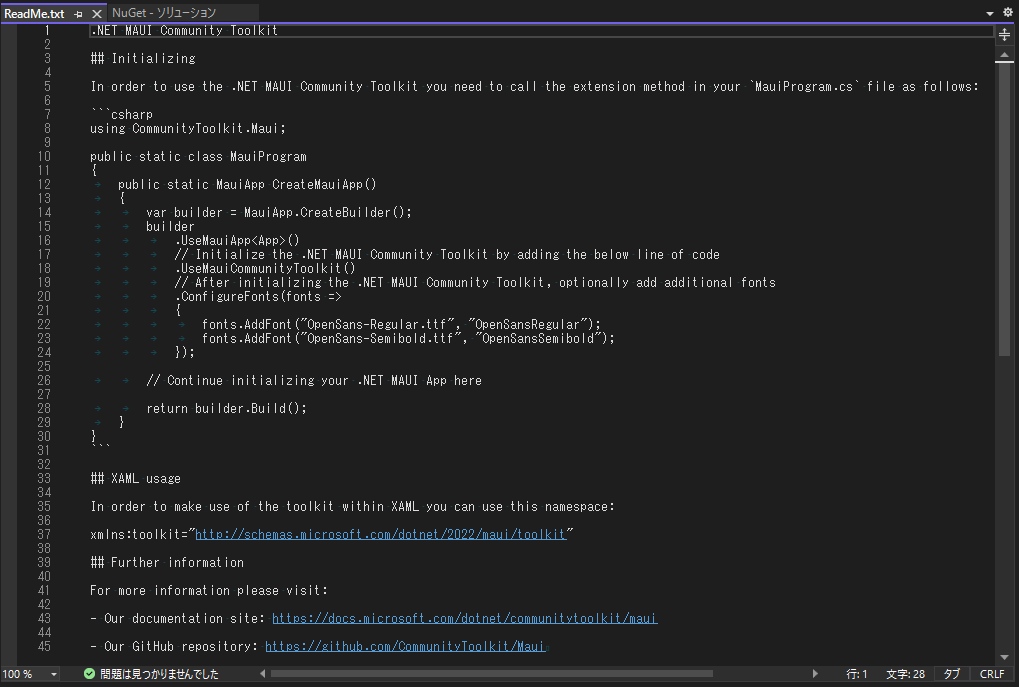
インストールが完了すると、ReadMe.txt が表示されます。このファイルにはライブラリの使い方が記載されています。
ReadMe.txt は閉じても特に問題はありません。
ライブラリの初期設定
CommunityToolkit.Maui を使うための設定があります。
次の手順でライブラリの初期設定をしましょう。
MainProgram.cs を開いて、ファイルの先頭に using ステートメントを追加します。
using CommunityToolkit.Maui;続いて、スタートアップ処理に CommunityToolkit.Maui の初期化処理を追加します。(下記コードの8行目に追加)
public static class MauiProgram
{
    public static MauiApp CreateMauiApp()
    {
        var builder = MauiApp.CreateBuilder();
        builder
            .UseMauiApp<App>()
            .UseMauiCommunityToolkit()
            .ConfigureFonts(fonts =>
            {
                fonts.AddFont("OpenSans-Regular.ttf", "OpenSansRegular");
                fonts.AddFont("OpenSans-Semibold.ttf", "OpenSansSemibold");
            });

        return builder.Build();
    }
}
これで準備は整いました。
ポップアップをカスタマイズする

ここからは、ポップアップをカスタマイズするサンプルを紹介します。
DIコンテナに登録する
まず、Visual Studio のソリューションエクスプローラーを開き、プロジェクトに ContentPage (XAML) を追加します。ここでは名前を PopupPage とします。

先ほど作成したファイルの ViewModel に該当するクラスを追加します。ここでは名前を PopupViewModel とします。

MauiProgram.cs を開いて、MainPage と PopupPage の View と ViewModel をそれぞれ DI コンテナに登録します。
using CommunityToolkit.Maui;
using Sample.ViewModels;
using Sample.Views;

namespace Sample;

public static class MauiProgram
{
    public static MauiApp CreateMauiApp()
    {
        var builder = MauiApp.CreateBuilder();
        builder
            .UseMauiApp<App>()
            .UseMauiCommunityToolkit()
            .RegisterViewModels()
            .ConfigureFonts(fonts =>
            {
                fonts.AddFont("OpenSans-Regular.ttf", "OpenSansRegular");
                fonts.AddFont("OpenSans-Semibold.ttf", "OpenSansSemibold");
            });

        builder.Services.AddSingleton<MainPage>();
        builder.Services.AddSingleton<MainViewModel>();

        return builder.Build();
    }

    // DIコンテナに追加する View と ViewModel
    public static MauiAppBuilder RegisterViewModels(this MauiAppBuilder mauiAppBuilder)
    {
        mauiAppBuilder.Services.AddTransient<MainPage>();
        mauiAppBuilder.Services.AddTransient<MainViewModel>();
        mauiAppBuilder.Services.AddTransient<PopupPage>();
        mauiAppBuilder.Services.AddTransient<PopupViewModel>();
        return mauiAppBuilder;
    }
}
これで登録が完了しました。
CommunityToolkit.MauiのPopupを使う
PopupPage.xaml を開いて、XAML の名前空間に CommunityToolkit.Maui の名前空間を追加します。
<ContentPage xmlns="http://schemas.microsoft.com/dotnet/2021/maui"
             xmlns:toolkit="http://schemas.microsoft.com/dotnet/2022/maui/toolkit"
             xmlns:x="http://schemas.microsoft.com/winfx/2009/xaml"
             x:Class="Sample.Views.PopupPage"
             Title="PopupPage">
    <VerticalStackLayout>
        <Label
            Text="Welcome to .NET MAUI!"
            VerticalOptions="Center"
            HorizontalOptions="Center" />
    </VerticalStackLayout>
</ContentPage>
続いて、ContentPage タブを toolkit の Popup タブへ書き換えます。 toolkit の Popup は title プロパティをサポートしていないので削除しておきましょう。
<toolkit:Popup xmlns="http://schemas.microsoft.com/dotnet/2021/maui"
             xmlns:toolkit="http://schemas.microsoft.com/dotnet/2022/maui/toolkit"
             xmlns:x="http://schemas.microsoft.com/winfx/2009/xaml"
             x:Class="Sample.Views.PopupPage">
    <VerticalStackLayout>
        <Label
            Text="Welcome to .NET MAUI!"
            VerticalOptions="Center"
            HorizontalOptions="Center" />
    </VerticalStackLayout>
</toolkit:Popup>
PopupPage.xaml のコードビハインドを開きます。CommunityToolkit.Maui.Views のPopup を継承するように書き換えます。
また、PopPage の View と ViewModel を関連付けするために、コンストラクタで BindingContext プロパティに PopupViewModel のオブジェクトをセットします。
using CommunityToolkit.Maui.Views;
using Sample.ViewModels;

namespace Sample.Views;

public partial class PopupPage : Popup
{
    public PopupPage(PopupViewModel popupViewModel)
    {
        InitializeComponent();
        BindingContext = popupViewModel;
    }
}
これで Popup が使えるようになりました。
Popupをカスタマイズする
PopupPage.xaml を開いて、Popup のスタイルをカスタイマイズしましょう。
ここでは次のポップアップを表示します。
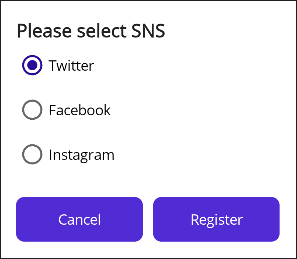
RadioButton は チェックボックスの状態が変化する度に IsChecked プロパティにバインディングした Results の配列の要素を更新するようにします。
Button は Popup をコマンドのパラメーターとして渡すのがポイントです。こうすることで ViewModel で Popup を閉じる処理を行えるようになります。
XAML は次のように記述します。
<toolkit:Popup
    x:Class="Sample.Views.PopupPage"
    xmlns="http://schemas.microsoft.com/dotnet/2021/maui"
    xmlns:x="http://schemas.microsoft.com/winfx/2009/xaml"
    xmlns:toolkit="http://schemas.microsoft.com/dotnet/2022/maui/toolkit"
    x:Name="MyPopup">
    <VerticalStackLayout
        Padding="20"
        BackgroundColor="White"
        MinimumHeightRequest="250"
        MinimumWidthRequest="300">
        <Label
            FontAttributes="Bold"
            FontSize="Medium"
            Text="Please select SNS" />
        <RadioButton
            Content="Twitter"
            GroupName="SNS"
            IsChecked="{Binding Results[0], Mode=TwoWay, UpdateSourceEventName=CheckedChanged}" />
        <RadioButton
            Content="Facebook"
            GroupName="SNS"
            IsChecked="{Binding Results[1], Mode=TwoWay, UpdateSourceEventName=CheckedChanged}" />
        <RadioButton
            Content="Instagram"
            GroupName="SNS"
            IsChecked="{Binding Results[2], Mode=TwoWay, UpdateSourceEventName=CheckedChanged}" />
        <Grid
            Margin="0,20,0,0"
            ColumnDefinitions="*,*"
            ColumnSpacing="10">
            <Button
                Command="{Binding CancelCommand}"
                CommandParameter="{Binding Source={x:Reference MyPopup}}"
                Text="Cancel" />
            <Button
                Grid.Column="1"
                Command="{Binding RegisterCommnad}"
                CommandParameter="{Binding Source={x:Reference MyPopup}}"
                Text="Register" />
        </Grid>
    </VerticalStackLayout>
</toolkit:Popup>
次は PopupViewModel を開きます。
CancelCommand プロパティと RegisterCommnad プロパティを定義し、コマンドの実行処理を行うメソッドを作成します。このメソッドは View の Popup を引数として受け取ります。
Popup を閉じるには Close メソッドを呼び出します。このメソッドに渡した引数は、Popup の返り値になります。
using CommunityToolkit.Maui.Views;
using System.Windows.Input;

namespace Sample.ViewModels
{
    public class PopupViewModel
    {
        public bool[] Results { get; set; }

        public ICommand CancelCommand { get; set; }

        public ICommand RegisterCommnad { get; set; }

        public PopupViewModel()
        {
            Results = new bool[3];

            CancelCommand = new Command(OnCancelCommand);
            RegisterCommnad = new Command(OnRegisterCommnad);
        }

        private void OnCancelCommand(object parameter)
        {
            ((Popup)parameter).Close();
        }

        private void OnRegisterCommnad(object parameter)
        {
            var ans = string.Empty;
            ans += Results[0] ? "Twitter" : string.Empty;
            ans += Results[1] ? "Facebook" : string.Empty;
            ans += Results[2] ? "Instagram" : string.Empty;
            ((Popup)parameter).Close(ans);
        }
    }
}
カスタマイズしたPopupを使う
MainPage の Button をタップまたはクリックしたら、カスタイマイズした Popup を表示します。Popup のラジオボタンから1つ以上を選択し、[Register]ボタンをタップまたはクリックしたら、その選択した項目名をデバッグログを出力させます。
MainViewModel を開いて次のように記述します。
using CommunityToolkit.Maui.Views;
using Sample.Views;
using System.Diagnostics;
using System.Windows.Input;

namespace Sample.ViewModels
{
    public class MainViewModel
    {
        private PopupViewModel popupViewModel;

        public ICommand ClickedCommand { get; set; }

        public MainViewModel(PopupViewModel popupViewModel)
        {
            this.popupViewModel = popupViewModel;

            ClickedCommand = new Command(async () => await OnClickedCommnadAsync());
        }

        private async Task OnClickedCommnadAsync()
        {
            var popup = new PopupPage(popupViewModel);

            var result = await Application.Current.MainPage.ShowPopupAsync(popup);
            Debug.WriteLine($"選択結果:{result}");
        }
    }
}
Android エミュレーターで実行して、Popup を表示してみましょう。
この時の出力結果は次のようになります。
選択結果:Twitter
まとめ

この記事では、Popup をカスタイマイズして使う方法について紹介をしました。
CommunityToolkit.Maui を使うことで、サイズや表示位置、背景色、配置するコントロールなど自分好みのレイアウトへ変更できる上に、Popup の返り値も自由に設定することができます。
Popup をカスタイマイズしたいという方の参考になれば幸いです。
以上、最後まで読んで頂きありがとうございました。