
Button のアニメーションをカスタマイズしたい
Button のアニメーションをカスタマイズしたいと思っている方に向けて、アニメーションをカスタマイズする方法を紹介します。
例えば、.NET MAUI の Button をクリックした時に一時的に半透明にするようなアニメーションを付けることができます。
この記事では、 Microsoft が提供している CommunityToolkit.Maui というライブラリを使って、アニメーションをカスタマイズする方法を紹介しています。
ぜひ最後まで読んで、アプリ開発の参考にしてみてください。

オススメの参考書
丁寧に解説された1冊。リリースされて間もない.NET MAUI の基礎が学べるので、これから Android や iOS などをターゲットとして開発するなら非常に参考になる書籍です。

.NET MAUIのアニメーションについて

.NET MAUI では、ビジュアル要素の様々なプロパティを対象とするアニメーションクラスがあります。
一般的なアニメーションは、一定期間に渡ってある値から別の値に徐々に変更されます。この機能を使えば、Button を押したときに Button が押し込まれるアニメーションを表現することも可能です。
アニメーションの実装の仕方には「Visual states」を用いる方法がありますが、この記事では「CommunityToolkit.Maui」という Microsoft が提供しているライブラリを使います。
このライブラリは、.NET MAUI でアプリ開発する時に役立つことを1つにまとめており、アニメーション以外にもビヘイビア、コンバーターなどの汎用的な機能が揃っているのが特徴です。
\ 公式サイト /

アニメーションは Button 以外の UI コントロールにも適用でき、様々な場面で活用できるので、ぜひマスターしましょう。
事前準備

「CommunityToolkit.Maui」は NuGet からインストールします。次のインストール手順に沿ってインストールを実施してください。
ライブラリのインストール
CommunityToolkit.Maui は NuGet からインストールすることができます。
次の手順でプロジェクトへインストールしましょう。
お使いのパソコンにインストールされている Visual Studio 2022 で、プロジェクトを開きます。
統合開発環境である Visual Studio のインストールがまだの方は、次の記事を参考にしてインストールします。
メニューバーから [ツール] -> [NuGet パッケージ マネージャー] -> [ソリューションの NuGet パッケージの管理] の順に選択します。
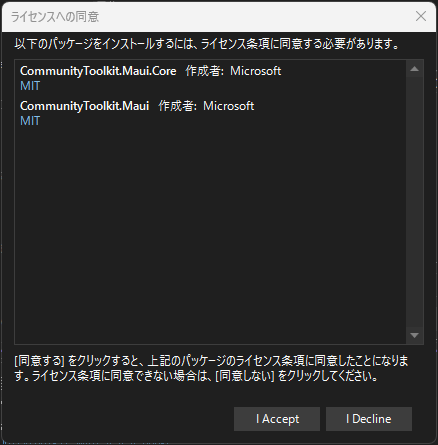
検索欄に「CommunityToolkit.Maui」を入力して、検索結果の一覧から「CommunityToolkit.Maui」をインストールします。(2023年5月現在、バージョンは5.1.0)

ライセンスへの同意を求める画面が表示されるので、内容を確認して [I Accept] ボタンをクリックします。
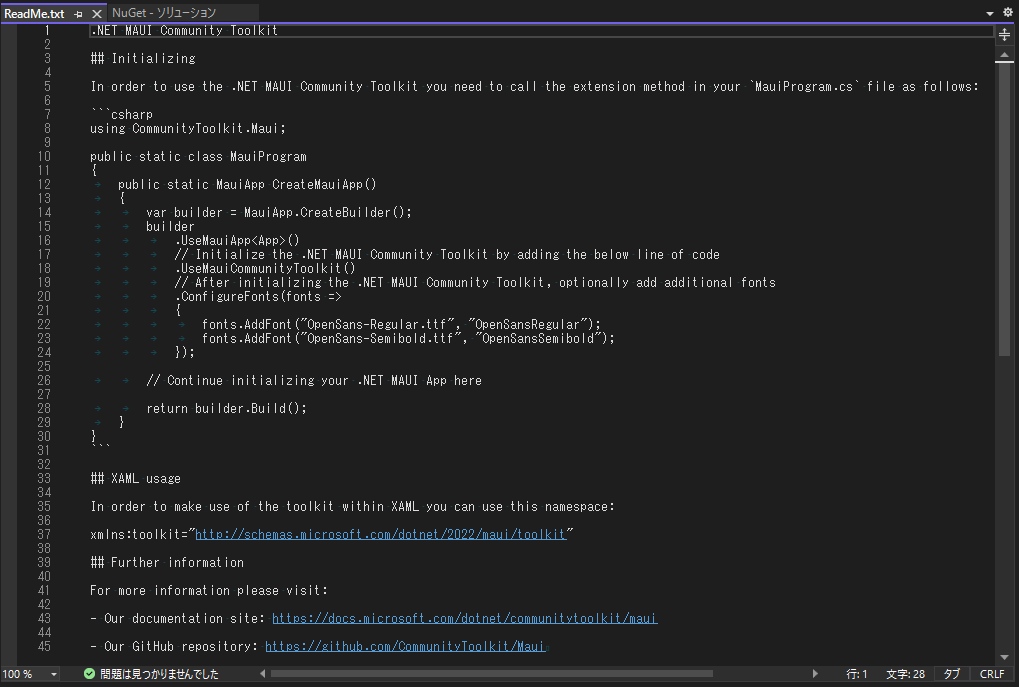
インストールが完了すると、ReadMe.txt が表示されます。このファイルにはライブラリの使い方が記載されています。
ReadMe.txt は閉じても特に問題はありません。
ライブラリの初期設定
CommunityToolkit.Maui を使うための設定があります。
設定は簡単にできますので、次の手順でライブラリの初期設定をしましょう。
MainProgram.cs を開いて、ファイルの先頭に using ステートメントを追加します。
using CommunityToolkit.Maui;続いて、スタートアップ処理に CommunityToolkit.Maui の初期化処理を追加します。(下記コードの8行目に追加)
public static class MauiProgram
{
    public static MauiApp CreateMauiApp()
    {
        var builder = MauiApp.CreateBuilder();
        builder
            .UseMauiApp<App>()
            .UseMauiCommunityToolkit()
            .ConfigureFonts(fonts =>
            {
                fonts.AddFont("OpenSans-Regular.ttf", "OpenSansRegular");
                fonts.AddFont("OpenSans-Semibold.ttf", "OpenSansSemibold");
            });

        return builder.Build();
    }
}
これでライブラリを使う準備が整いました。
アニメーションを使用する

CommunityToolkit.Maui には再利用可能なアニメーションクラスが用意されています。VisualElement クラスの派生クラスであるすべてのコントロールで使用できます。
また、BaseAnimation クラスを継承したクラスを利用することでアニメーションをカスタムすることができます。
これらのクラスを使用した Button のアニメーションをいくつか紹介します。
ボタンがクリックされたら半透明になるアニメーション
CommunityToolkit.Maui に用意されている FadeAnimation クラスは、コントロールの不透明度を指定した不透明度に変更し、元の不透明度に戻すまでのアニメーションが提供されています。
次のサンプルは、Button の Clicked イベントが発生したら、一時的に Opacity プロパティを 0.5 に変更し、Opacity プロパティを 1 に戻します。これによりタップまたはクリックすると、Button が半透明になるアニメーションを作成できます。
<ContentPage
x:Class="Sample.MainPage"
xmlns="http://schemas.microsoft.com/dotnet/2021/maui"
xmlns:x="http://schemas.microsoft.com/winfx/2009/xaml"
xmlns:local="clr-namespace:Sample.Animations"
xmlns:toolkit="http://schemas.microsoft.com/dotnet/2022/maui/toolkit">
<StackLayout Margin="0,150,0,0">
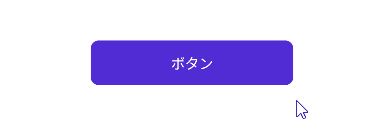
<Button
Margin="100"
HorizontalOptions="Center"
Opacity="1"
Text="ボタン"
VerticalOptions="Center"
WidthRequest="200">
<Button.Behaviors>
<toolkit:AnimationBehavior EventName="Clicked">
<toolkit:AnimationBehavior.AnimationType>
<toolkit:FadeAnimation Opacity="0.5" />
</toolkit:AnimationBehavior.AnimationType>
</toolkit:AnimationBehavior>
</Button.Behaviors>
</Button>
</StackLayout>
</ContentPage>Android エミュレーターで実行すると、次のような結果になります。
ボタンがクリックされたら押し込まれるアニメーション
CommunityToolkit.Maui に用意されている BaseAnimation クラスを継承したクラスを作成し、Animate メソッドをオーバーライドしてアニメーションをカスタムします。
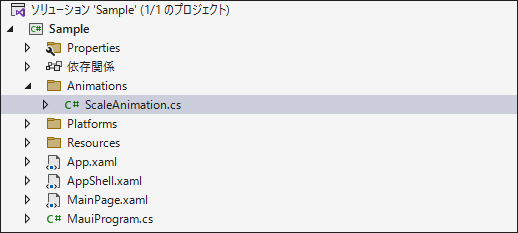
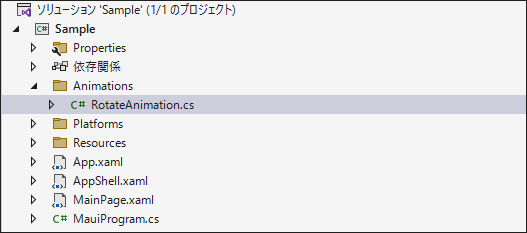
ここでは Animations フォルダを作成し、そのフォルダ内に BaseAnimation クラスを継承した ScaleAnimation クラスを作成します。
ViewExtensions クラスにはアニメーションに関するメソッドがいくつか用意されており、コントロールのサイズを拡大縮小する Scale メソッドをアニメーション化する ScaleTo メソッドを使います。
次のサンプルでは、コントロールのサイズを 0.8 倍に縮小し、その後に元の大きさに戻すアニメーションです。
<ContentPage
    x:Class="Sample.MainPage"
    xmlns="http://schemas.microsoft.com/dotnet/2021/maui"
    xmlns:x="http://schemas.microsoft.com/winfx/2009/xaml"
    xmlns:local="clr-namespace:Sample.Animations"
    xmlns:toolkit="http://schemas.microsoft.com/dotnet/2022/maui/toolkit">
    <StackLayout Margin="0,150,0,0">
        <Button
            Margin="100"
            HorizontalOptions="Center"
            Opacity="1"
            Text="ボタン"
            VerticalOptions="Center"
            WidthRequest="200">
            <Button.Behaviors>
                <toolkit:AnimationBehavior EventName="Clicked">
                    <toolkit:AnimationBehavior.AnimationType>
                        <local:ScaleAnimation
                            Easing="{x:Static Easing.Linear}"
                            Length="100"/>
                    </toolkit:AnimationBehavior.AnimationType>
                </toolkit:AnimationBehavior>
            </Button.Behaviors>
        </Button>
    </StackLayout>
</ContentPage>
ScaleAnimation.cs を開いて、次のように記述します。
using CommunityToolkit.Maui.Animations;

namespace Sample.Animations
{
    public class ScaleAnimation : BaseAnimation
    {
        public override async Task Animate(VisualElement view)
        {
            await view.ScaleTo(0.8, Length, Easing);
            await view.ScaleTo(1, Length, Easing);
        }
    }
}
Android エミュレーターで実行すると、次のような結果になります。
ボタンがクリックされたら傾くアニメーション
CommunityToolkit.Maui に用意されている BaseAnimation クラスを継承したクラスを作成し、Animate メソッドをオーバーライドしてアニメーションをカスタムします。
ここでは Animations フォルダを作成し、そのフォルダ内に BaseAnimation クラスを継承した RotateAnimation クラスを作成します。
ViewExtensions クラスにはアニメーションに関するメソッドがいくつか用意されており、コントロールを回転する Rotation メソッドをアニメーション化する RotateTo メソッドを使います。
次のサンプルでは、コントロールを 10 度だけ回転し、その後に元の角度に戻すアニメーションです。
<ContentPage
    x:Class="Sample.MainPage"
    xmlns="http://schemas.microsoft.com/dotnet/2021/maui"
    xmlns:x="http://schemas.microsoft.com/winfx/2009/xaml"
    xmlns:local="clr-namespace:Sample.Animations"
    xmlns:toolkit="http://schemas.microsoft.com/dotnet/2022/maui/toolkit">

    <StackLayout Margin="0,150,0,0">
        <Button
            Margin="100"
            HorizontalOptions="Center"
            Opacity="1"
            Text="ボタン"
            VerticalOptions="Center"
            WidthRequest="200">
            <Button.Behaviors>
                <toolkit:AnimationBehavior EventName="Clicked">
                    <toolkit:AnimationBehavior.AnimationType>
                        <local:RotateAnimation
                            Easing="{x:Static Easing.Linear}"
                            Length="100"/>
                    </toolkit:AnimationBehavior.AnimationType>
                </toolkit:AnimationBehavior>
            </Button.Behaviors>
        </Button>
    </StackLayout>
</ContentPage>
RotationAnimation.cs を開いて、次のように記述します。
using CommunityToolkit.Maui.Animations;

namespace Sample.Animations
{
    public class RotateAnimation : BaseAnimation
    {
        public override async Task Animate(VisualElement view)
        {
            await view.RotateTo(10, Length, Easing);
            await view.RotateTo(0, Length, Easing);
        }
    }
}
Android エミュレーターで実行すると、次のような結果になります。
まとめ

この記事では Button にアニメーションをつける方法を紹介しました。
アニメーションはユーザーがアプリケーションの操作をより直観的に理解するのに役立つ機能です。NuGet からインストールできる CommunityToolkit.Maui を使うことで、ユーザーが Button をタップまたはクリックした時のアニメーションをカスタマイズできました。
以上、最後まで読んで頂きありがとうございました。